Facial recognition attendance
Biometric consent, face enrollment, Quick Attendance capture, and audit log for Lumus LMS
Facial recognition attendance
Lumus can use on-device face detection together with stored face samples (mathematical embeddings) so teachers and teaching assistants can enroll students and mark Quick Attendance by camera. Recognition models load from your own site (self-hosted under /models/face-api); processing runs in the browser for detection and matching, while consent, samples, and attendance are stored through your institution's normal LMS APIs.
Roles and consent
Recording or revoking biometric consent is limited to Administrator and Super Administrator accounts. Teachers and TAs can capture and manage face samples only after consent is on file for that student (or when samples already exist and the UI allows Manage).
Where to find it
Under Attendance in the sidebar:
| Screen | Path | Purpose |
|---|---|---|
| Face Enrollment | /dashboard/attendance/face-enrollment | Register or update face samples per student in a class |
| Quick Attendance | /dashboard/attendance/quick-capture | Live camera matching to mark present / late / absent, then save to the server |
| Biometric Audit Log | /dashboard/attendance/face-audit | Read-only history (admins; teachers may not see this) |
Lead teachers and TAs see their classes when opening these pages.
1. Biometric consent (administrators)
Before new students can be face-enrolled from scratch, an administrator must Record consent in Face Enrollment. Teachers see Consent on file / No consent chips but cannot change consent themselves.
Revoke (admin only) removes consent and deletes enrolled face samples; the action is logged in the biometric audit trail.
2. Face Enrollment
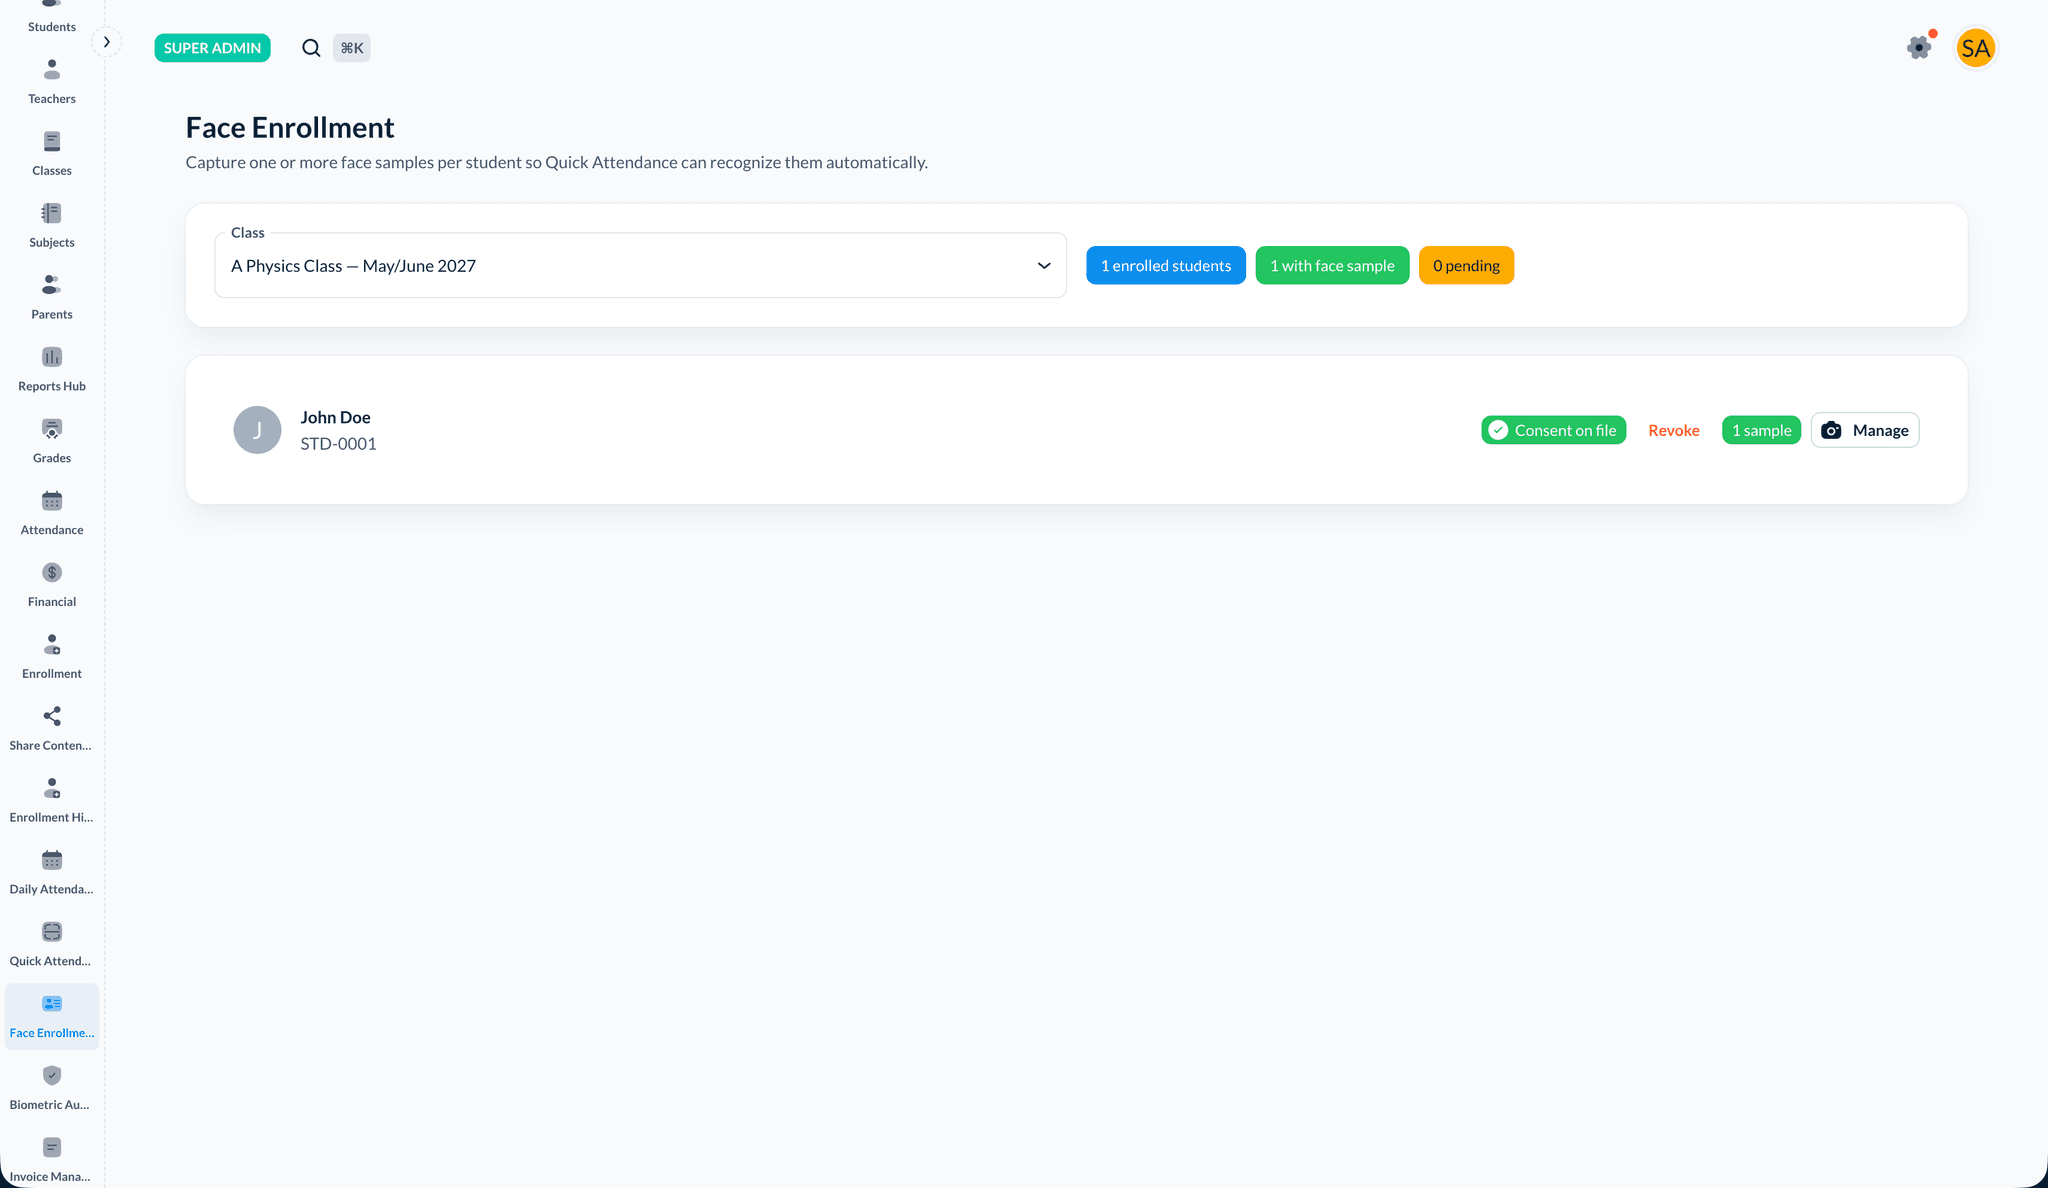
Use Face Enrollment after consent exists (or use Manage when samples already exist).
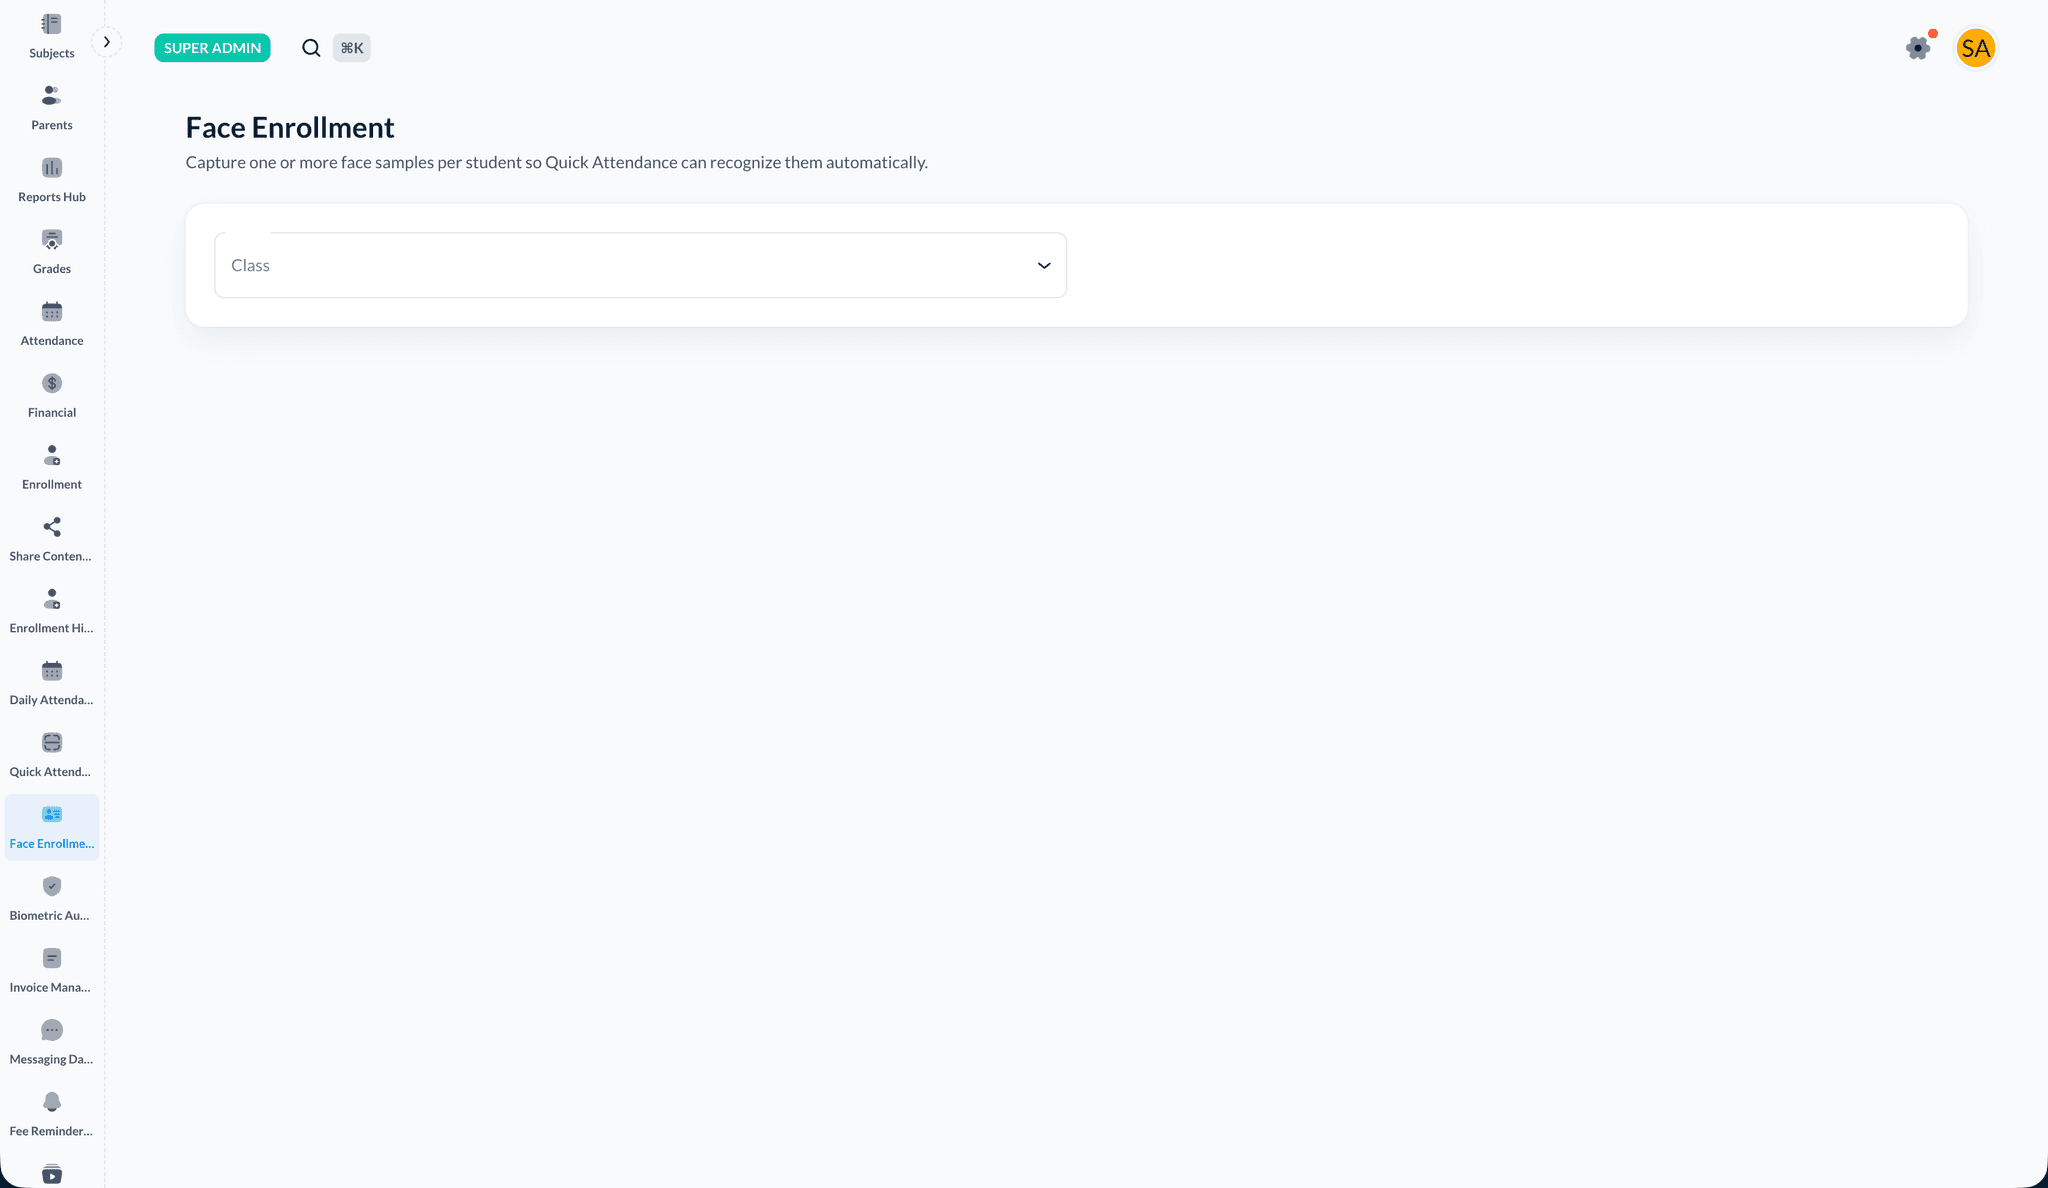
Select a class
- Open Face Enrollment from the sidebar
- Choose a class from the Class dropdown
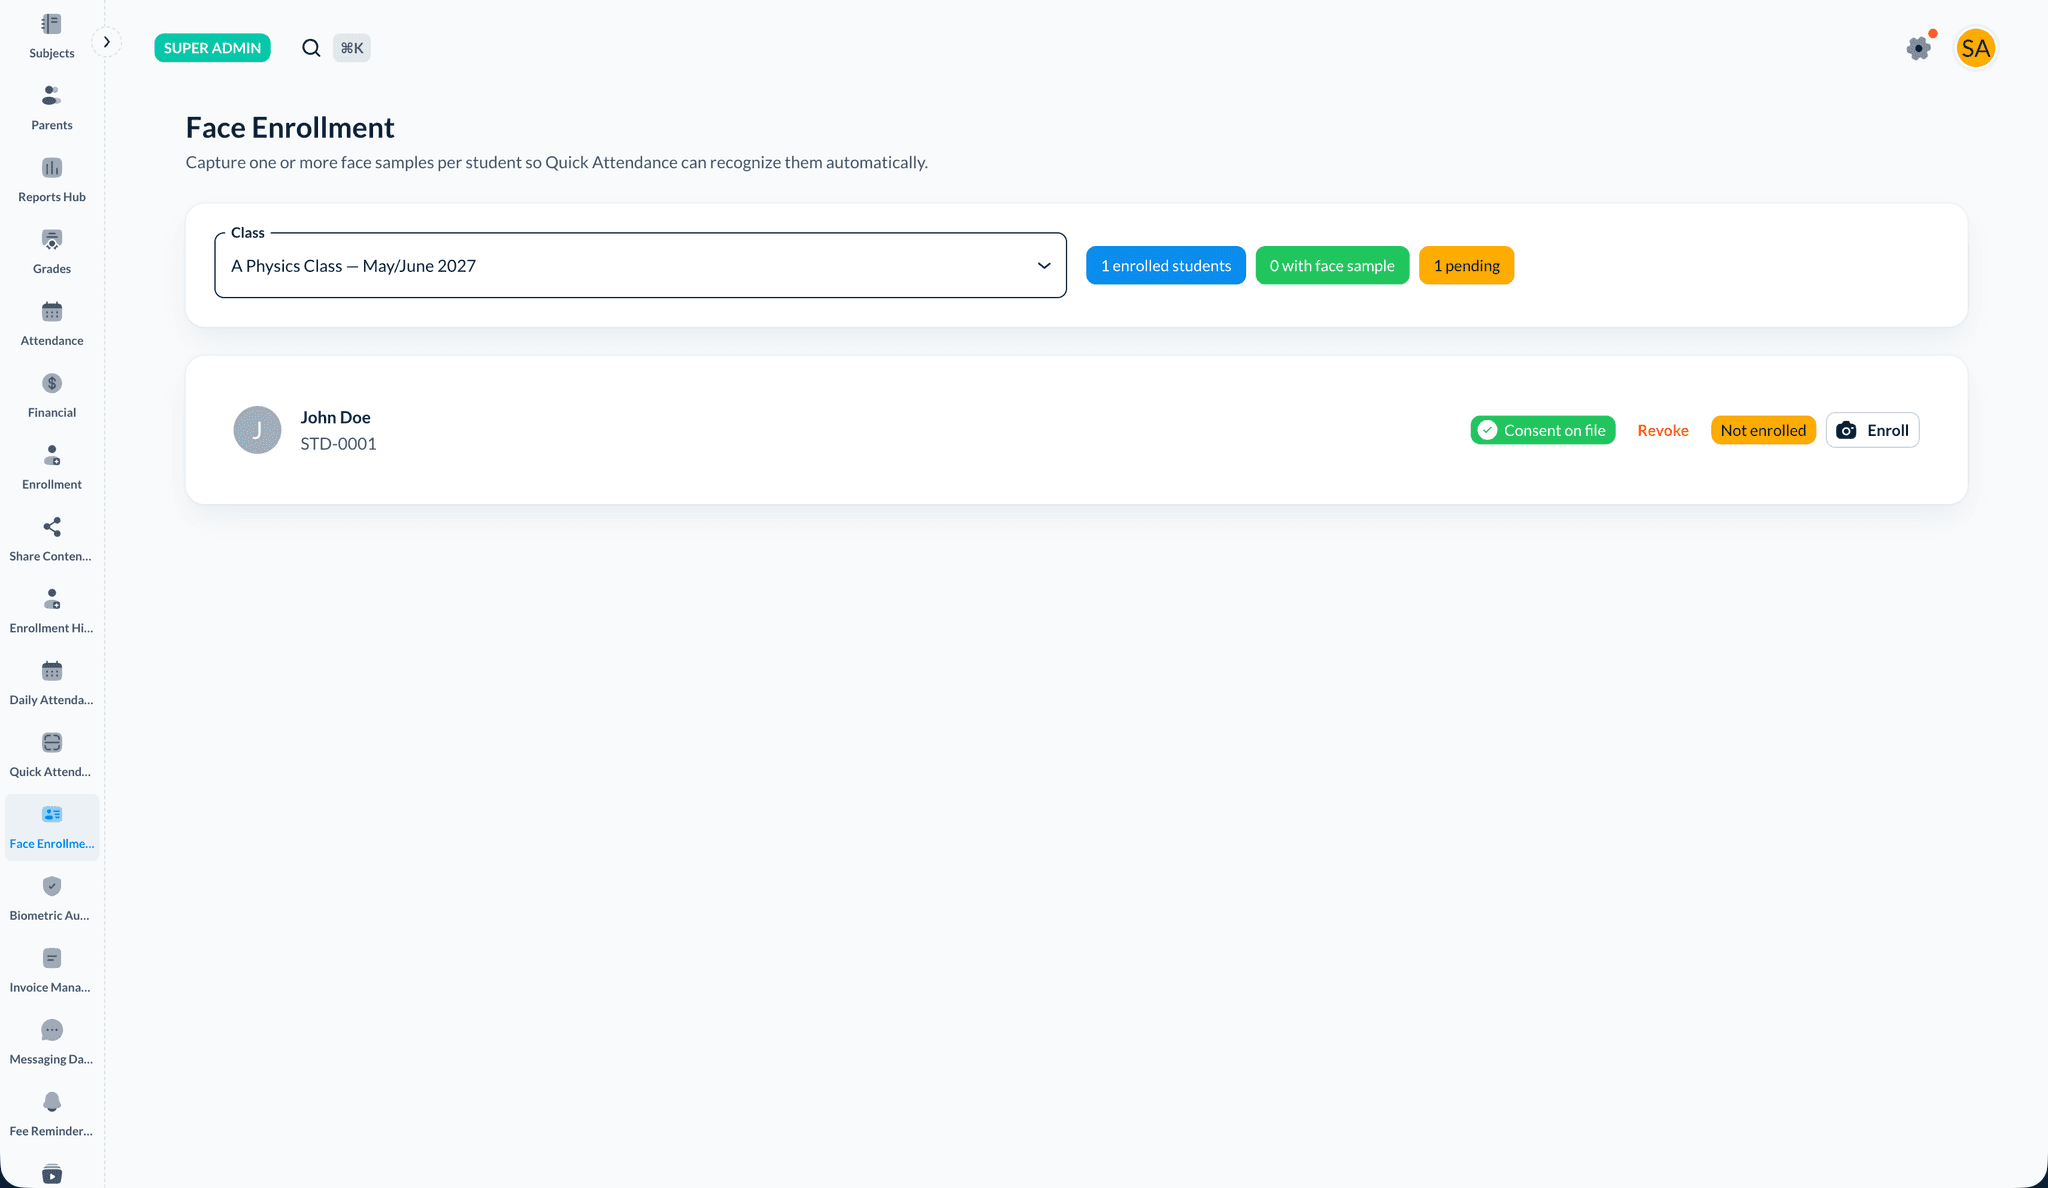
Enroll a student
- Review the roster — badges show enrolled students, with face sample, and pending
- Confirm Consent on file for the student (admin must record consent first)
- Click Enroll (or Manage if samples exist)
- Allow browser camera permission when prompted
- Follow live hints (lighting, distance, face angle)
- Click Capture sample when the detection score is high enough — aim for 3–5 samples from different angles
- Click Done when finished
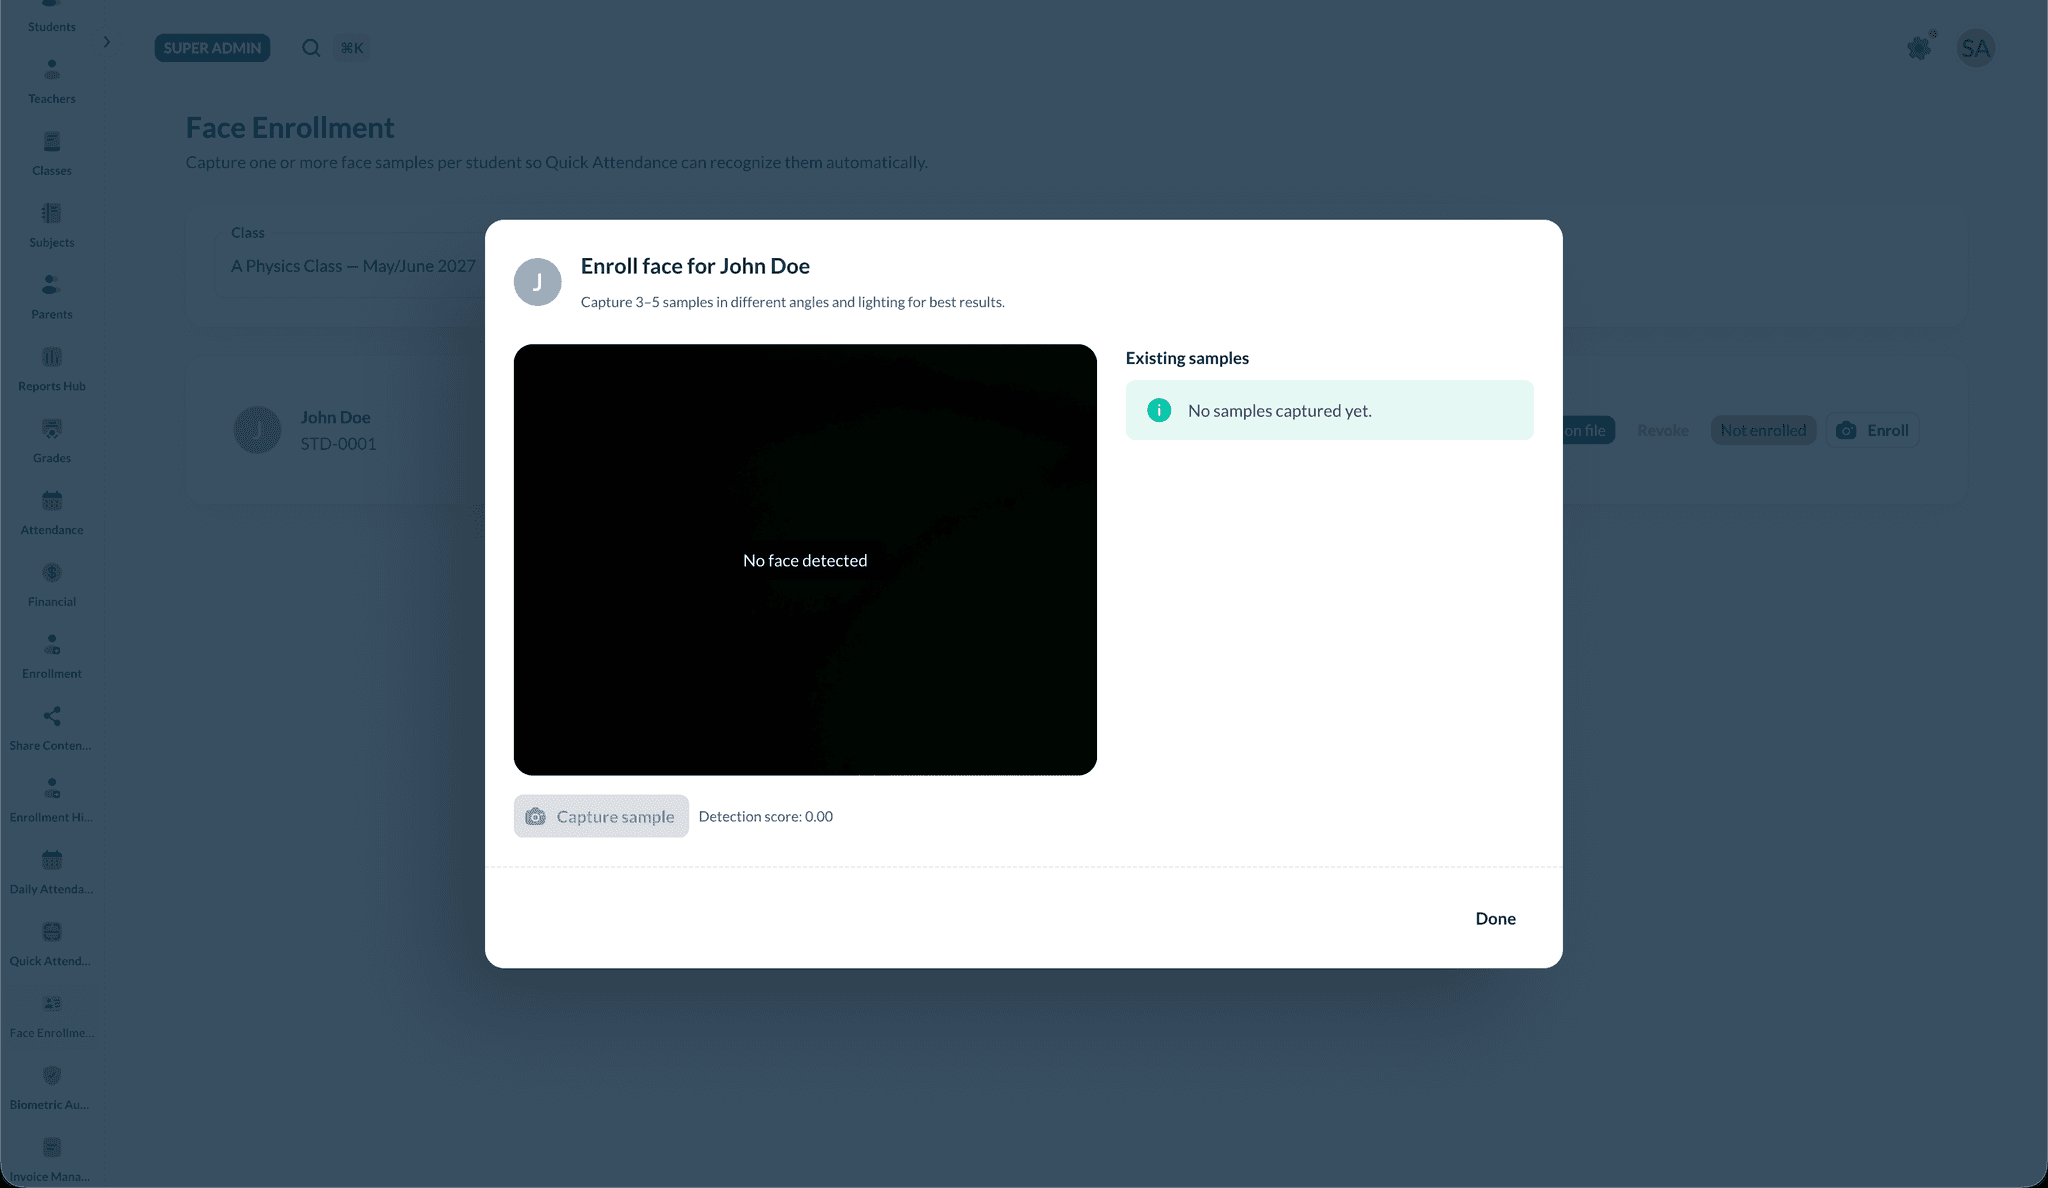
If detection scores stay low, improve lighting, face the camera squarely, and reduce motion or backlight.
3. Quick Attendance (Quick Capture)
Quick Attendance marks a session quickly using the camera:
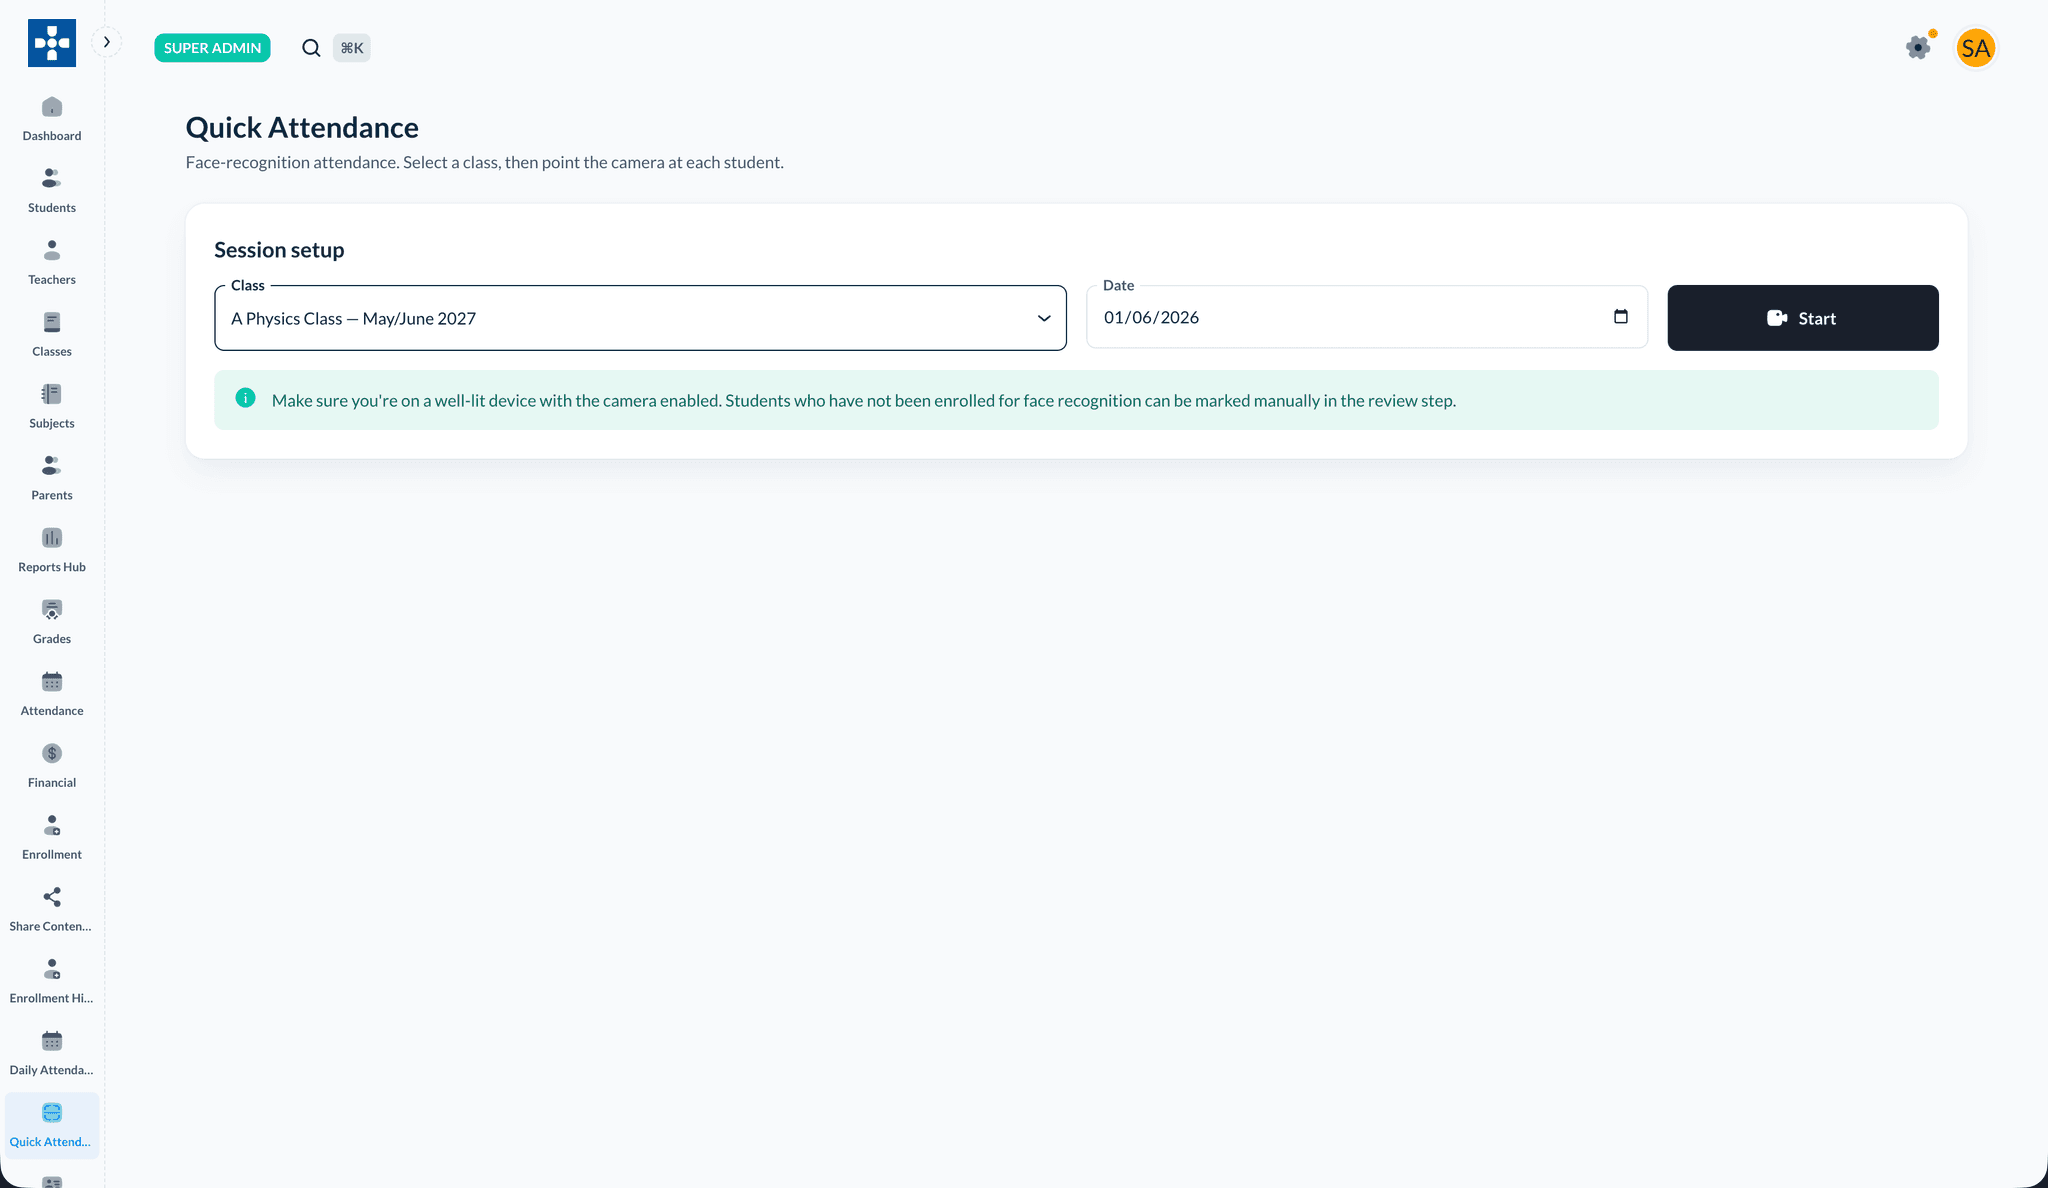
Session setup
- Open Quick Attendance from the sidebar
- Select Class and Date
- Click Start
During the session
- Point the camera at each student — a successful match marks them present
- Use the Unmarked list to manually set P (Present), L (Late), or A (Absent) for students without face samples
- Use Pause to stop detections temporarily
- Click Finish & Save to write attendance to the server
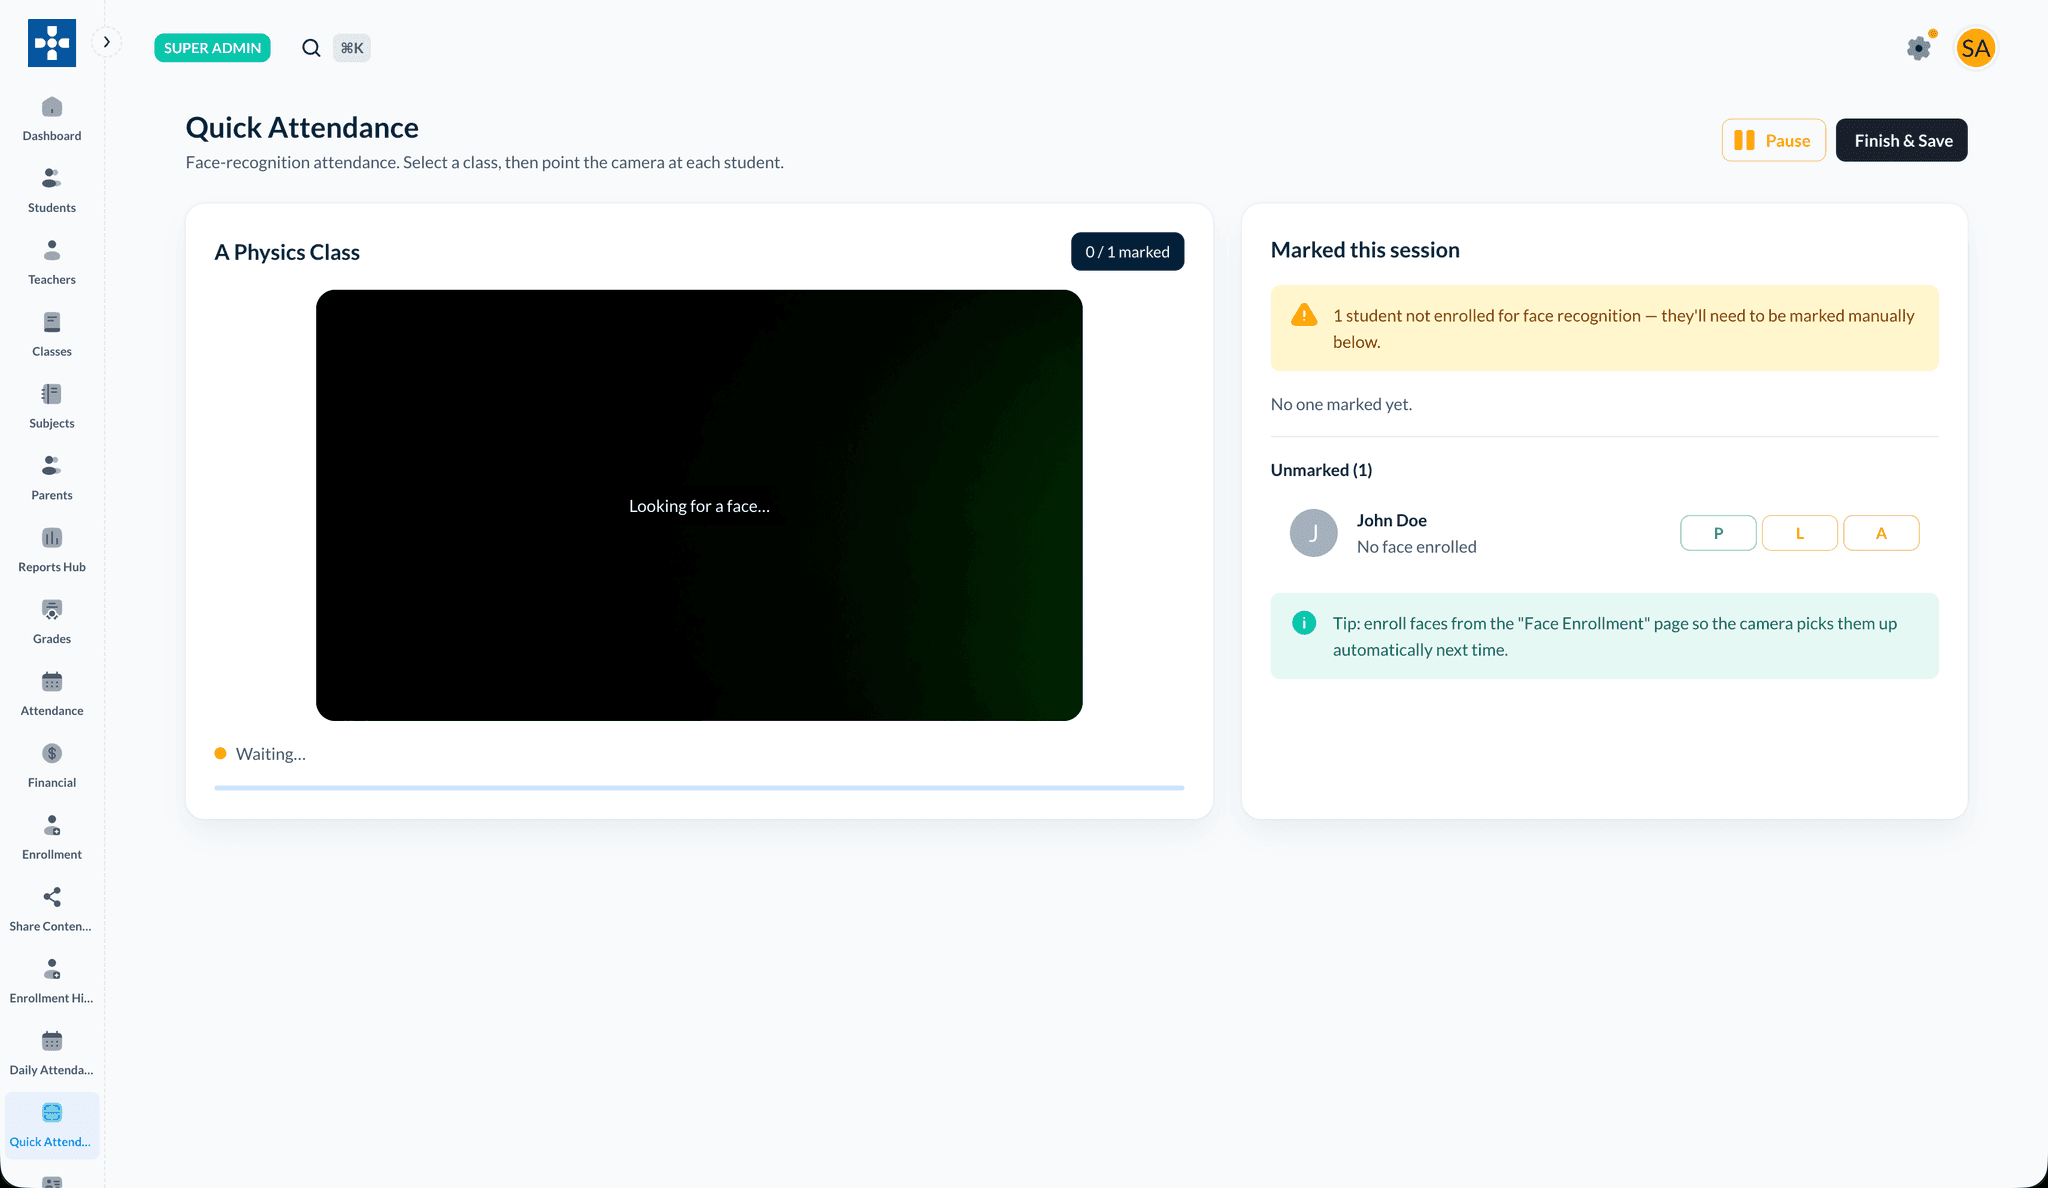
No match
If you see No match, ask the student to adjust distance and lighting, confirm they are already face-enrolled for that class, or mark them manually in the Unmarked list. You can also fall back to the class Attendance tab for manual marks — see Student Attendance.
Privacy and operations (summary)
- Treat face samples like sensitive biometric data: follow your school's policy and local regulations.
- HTTPS and restricted admin access are part of a secure deployment.
- If models fail to load on first visit, ensure
/models/face-apiassets are deployed and reachable.
Related topics
- Student Attendance — Manual attendance from the class Attendance tab
- Attendance tracking (admin) — Institution-wide reporting (see the Admin documentation)